Use CapCut Desktop Video Editor’s AI Narration to Avoid Microphone Hassles
CapCut PC is an easy-to-use tool that assists with this. It allows you to text your words and convert them into speech. You don't have any additional equipment or a soundproof room.
Voice recording for a video is not simple for all. Some people do not have a microphone. Others are not yet prepared to talk on camera. This tends to make video production slow or stressful. But now there is an improved way. You can apply AI narration to add a clear voice to your video without recording anything.
CapCut PC is an easy-to-use tool that assists with this. It allows you to text your words and convert them into speech. You don’t have any additional equipment or a soundproof room.
This is suitable for individuals who would like a crisp, clear voice in their videos. Although CapCut PC provides access to lots of free tools, some voice types come at a cost.
Why AI Narration Benefits Video Making
Good sound enables others to hear your video. It establishes the mood and maintains the attention of the watcher. Not everyone, however, owns a mic. Some people feel uncomfortable speaking on video or don’t like the sound of their own voice. That is where AI voiceovers can assist.
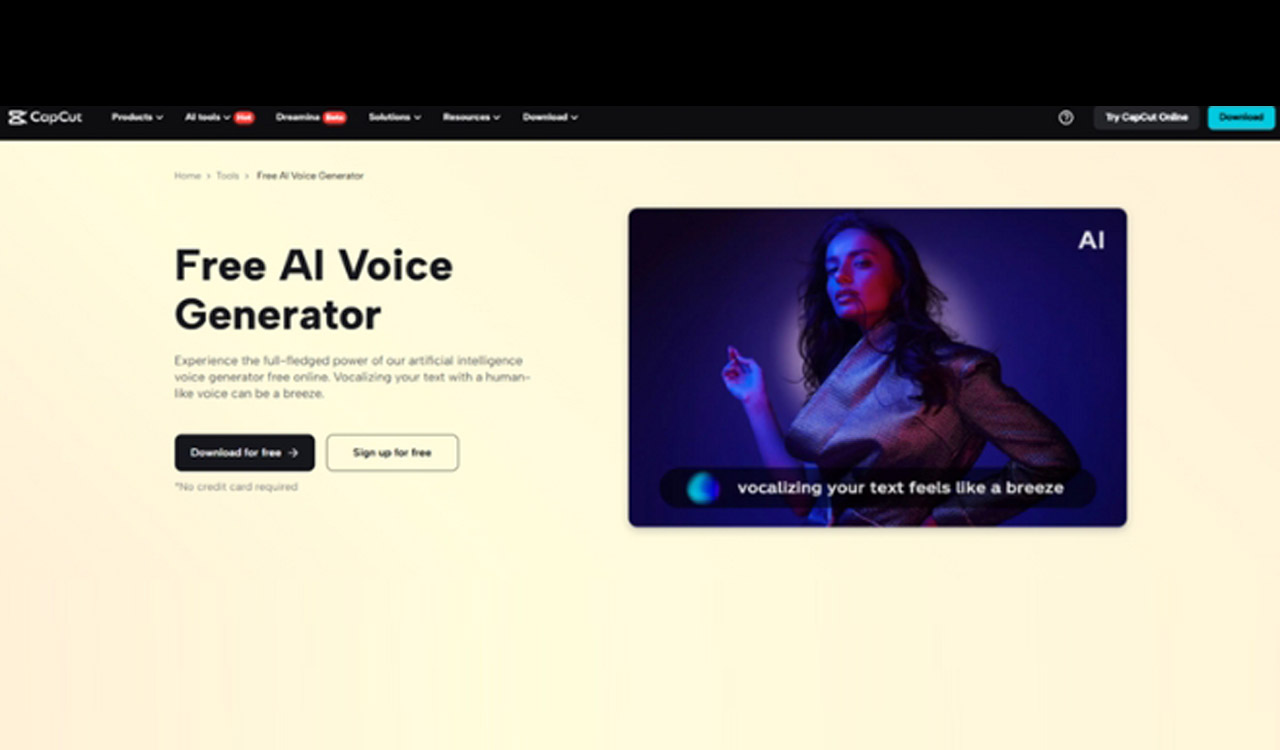
With the CapCut PC’s in-built AI voice generator , you can convert your script into natural-sounding voice clips. You do not have to record yourself at all. Just type your lines, pick a voice, and place it into your video. It is a wonderful help for teachers, trainers, and content creators who wish to describe without recording their voice.
This also benefits people who use other languages. If you desire a loud and even voice, an AI voice will assist you in reaching more people. It eliminates background noise and spares you the burden of re-recording.
The process is fast. Write your script, pick a voice, and place it into your video. It’s that easy. Most voices are available for use in the CapCut desktop video editor, but some of the professional voices might require a paid subscription. Nonetheless, for simple narration purposes, the free tools are sufficient to give your video a clean and shareable sound.
Benefits of Using AI Voice in CapCut PC
With CapCut desktop video editor, you don’t need to use a mic or any recording equipment. The AI voice feature provides you with crisp, well-balanced sound from plain text. It processes quickly and maintains your sound smoothly throughout the video.
If there is an error, you don’t need to re-record. Just fix the words and click once to create a new voice track. This is convenient for resume videos, instructional videos, and training videos. It allows your thoughts to shine through without noise or tedious edits.
You can choose from various tones to fit your message, whether you wish to remain cool, serious, or warm. This makes your video more engaging and refined. Using the built-in text-to-speech AI on CapCut PC, your narration will remain in harmony with your video clips.
It’s a great way to make your video sound better, even if you’re new to editing. For global viewers, AI voice also helps by keeping your tone even and is easy to understand.
Most features are free to try, but some voices and extra options may require a paid plan. Still, the basic tools offer a lot to help your videos stand out and stay clear.
How to Use AI Voiceover in the CapCut Desktop Video Editor
Step 1: Download CapCut Desktop Video Editor
Go to the official CapCut website and download the CapCut PC version for your system. Only the PC version provides advanced tools such as AI narration.
After completing the download, install the app and register for a free account. You can use a lot of editing tools immediately, but remember that some voice styles require a paid subscription.
Step 2: Upload an Existing Video or Start a New Project
Launch CapCut PC and press Import to import your video clips. Drag your video clips onto the timeline to begin editing your project. You can insert slides, webcam recordings, or screen capture files.
If your video appears fuzzy, use it to enhance it with tools such as an AI video upscaler. This makes the image of better quality before putting in voice or effects.
Step 3: Add AI Voice Using Text-to-Speech
Click on the Text tab in the top menu, then select Text-to-Speech (TTS) from the dropdown list. Enter your script in the box, i.e., “Welcome to my channel. Let’s begin.”
Choose a voice that is suitable for the tone of your video, i.e., confident, calm, or clear. Utilize text to speech AI to convert your script into voice.
Then, drag the clip to your timeline and line it up with your video. You can position it elsewhere to sync with the action. Press play to ensure that the timing is correct and make adjustments if necessary before proceeding.
Step 4: Export and Save Your Video
When you are done editing, press Export at the top right. Select your video quality, 720p, 1080p, or 4K is your choice. Save the file to your device.
Now you can upload the video to your site, share it on social media, or email it. It’s voice-ready, visual-ready, and ready for clean sound, no mic required.
Conclusion
With CapCut PC, you don’t have to stress about microphones or ambient noise. Its AI voice tools allow you to easily produce videos that sound smooth and appear professional-looking.
This is perfect for people who want to save time or simply aren’t ready to speak on camera yet. The CapCut desktop video editor provides you with lots of tools for free, although certain voice styles will need a paid subscription.
It is easy to use and assists with your message without additional effort. Test out CapCut PC today and let its AI narration capabilities create your next video with no mic, no fuss.